Design Evolution of our Loft House
Way back when we started dreaming up what would become the Quompound, it all started with an idea about a Quonset Hut House. As the designs and plans for the house grew and evolved, the Workshop and Headquarters Quonset huts were spun off from the house – it seemed best to start with those two simpler buildings first, to get our feet wet before tackling the actual house. Then the idea of the Quonset House itself evolved into a smaller Guest House which would be followed by a larger Main House. I blogged about the preliminary design for the Guest House back in May of 2017. (If you follow the link at the end of that blog post you can download that preliminary set of plans for free.)
By summer of 2017, after several months of road building, septic installing, electrical conduit trenching, and concrete pouring, we were ready to build the Workshop and Headquarters as our experimental first two huts. For two separate week-long camping trips, we had friends and family join us for what became known as Quonsetpalooza 1.0 and Quonsetpalooza 2.0.
We hoped to have our third hut, the Guest House (which we are now calling the Loft House), underway by early 2018. Our decision to pull up stakes and move from Los Angeles to Prescott, Arizona brought us physically much closer to the Quompound, but set back our construction schedule considerably. Finally, by the early fall of 2018, we were ready to erect the arches of the Loft House.
Preparing to Erect the Loft House Arches
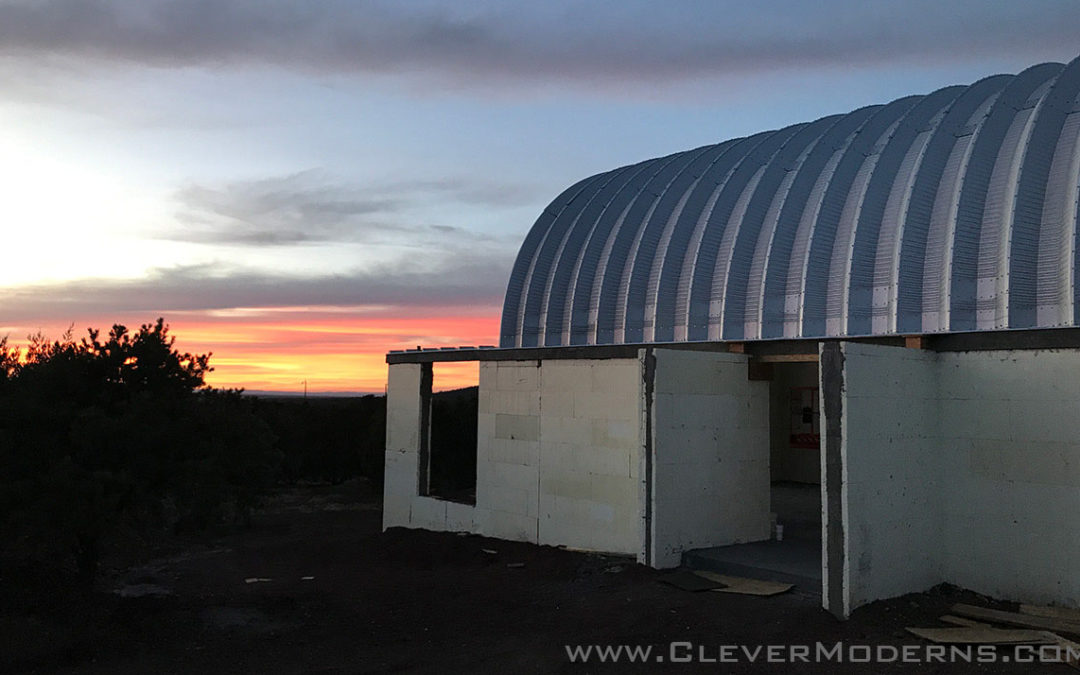
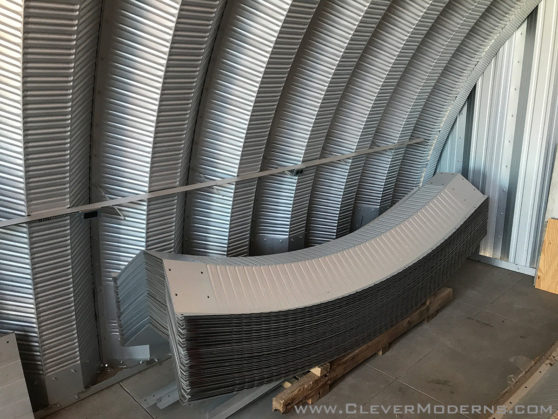
It was so exciting to finally be at the point of building the Quonset hut roof over the ICF concrete walls! These Quonset hut arch panels had been stacked and waiting on standby since the order arrived from SteelMaster way back in spring of 2017. We had ordered all three buildings at once, to get a better deal and save on shipping.
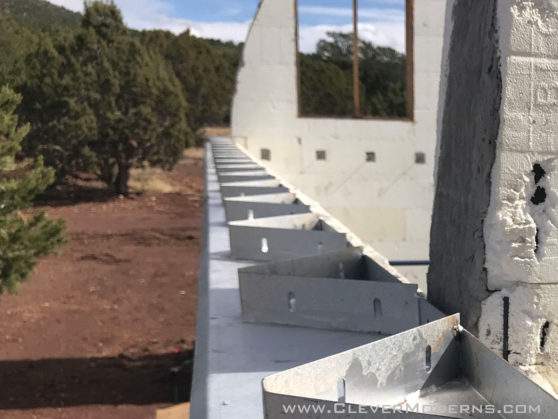
Since we had a team descending on the property to help, we wanted to do everything possible to get ready in advance. We’ve learned from past experience which things are more useful with a group and which things are better done before all the helpers arrive. For example, we went ahead and bolted down our base plates. This was a good task for Eric and me to do by ourselves. It took a whole day. We wanted to be able to fuss over it and take our time, making sure that they were all lined up perfectly. If the whole crew would have been there, it would have meant a lot of downtime for them.
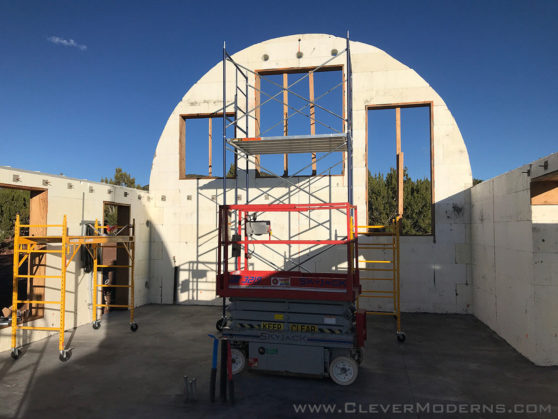
We also ordered our scissor lift and had it delivered. This was our first time using one of these and it was awesome! It worked great to lift the panels high into place. Last year, we built our first two Quonsets without one, and for a 12′ tall arch we were able to manage fine. I would say about 15′ would be the maximum I would want to go using just scaffolding and muscle power. For anything taller than 15′ a scissor lift will make your life much, much easier.
The First Loft House Arches
The first few arches of your Quonset hut type building are always going to be the most challenging. The very first arch is really wobbly on its own, and you will need some kind of bracing to help hold it up until you get the next couple of arches in place. At that point the whole thing firms up and becomes self-supporting. We wanted to get those first few arches in place, or at least get the first one out of the way, before the crew showed up.
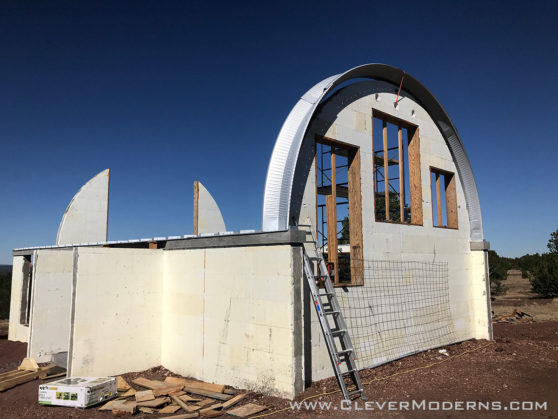
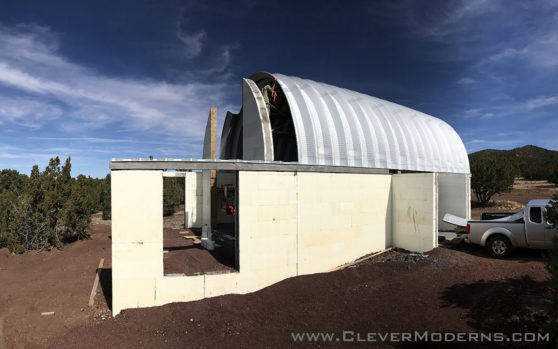
Also, we knew the first arch would have its own challenges just because of the end wall already being in place. On the one hand we figured the wall would potentially help support the first arch, but on the other hand, we also kind of expected it to be in the way. Because of the added head-scratching this was going to entail, we figured it was better to have the first arch or two in place, so that when we got our team assembled, we could try to just move forward as expeditiously as possible with the rest of the arches.
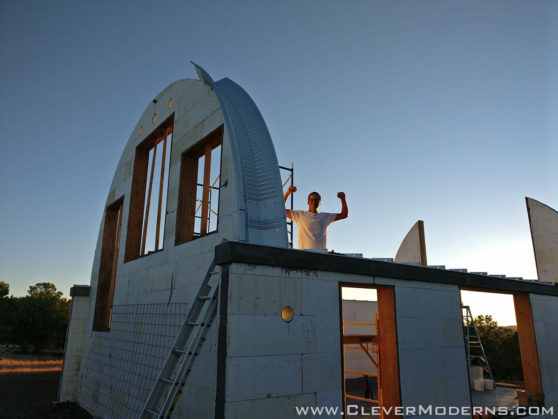
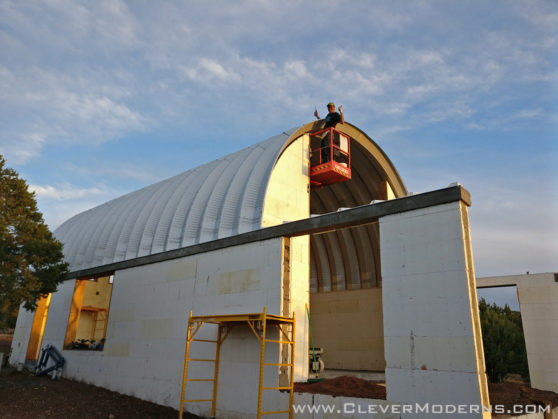
It was late afternoon by the time the scissor lift was delivered, offloaded from the trailer, and set up in the space. We worked into the early evening getting the first arch panels in place before the sun went down. Bolting that first panel in place was a real thrill!
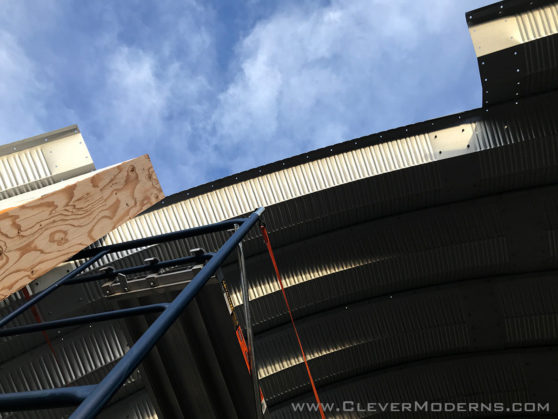
The next morning we finished the first full arch and used a ratchet tie-down strap to tie it to the concrete wall for support.
After that it wasn’t long ’til we had the second arch underway, and our friends Glenn & Pam showed up. Glenn had helped us install our window boxes in the Headquarters the previous summer (read all about it, here) and it was really fun having them back at the Quompound. Here’s a video still from my timelapse camera with Glenn, Eric, and me lifting the last panel of the second arch into place:
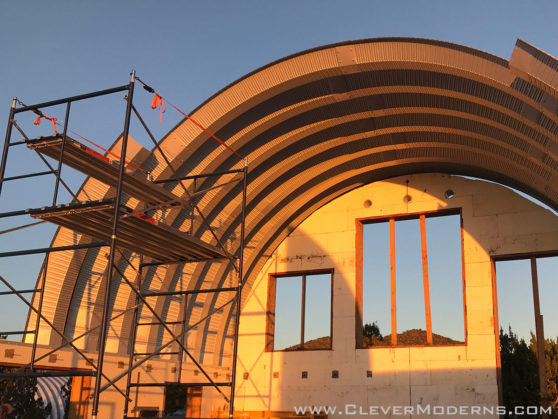
Above you can see our basic setup: we had smaller sets of yellow scaffolding along the sides, with the larger three-tier scaffold and scissor lift in the center.
With Glenn’s help, we completed the third arch that day. By the next day though, our fourth team member Mark showed up. With two teams of two, the four of us got into a really good groove with the arches.
Hitting our Groove
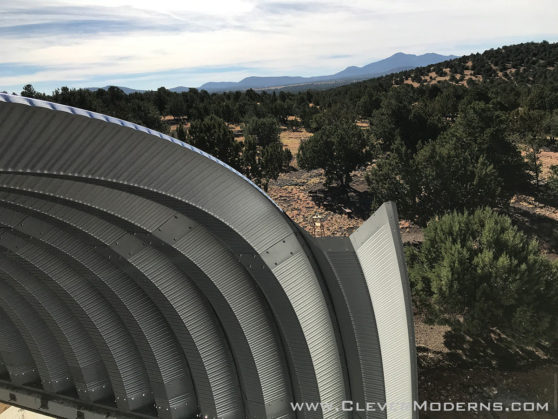
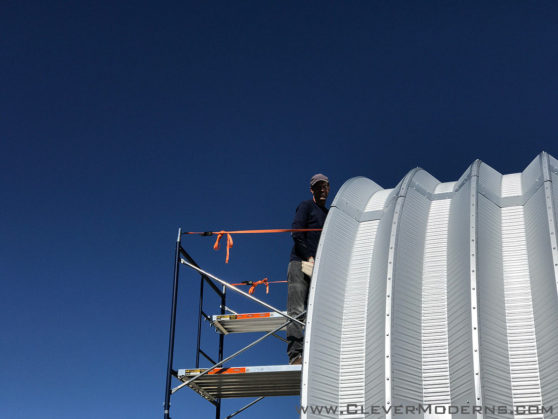
For the next few days we cranked out five and six arches per day. Once you get into a groove, the choreography of each arch becomes a routine that gets smoother and smoother the more you practice it. One of the best ways to help this go well for your build is to find which tasks each person is better at, and stick with them. Some people will be better at heavy lifting, and whereas others will be better at the manual fiddly-ness of tightening nuts & bolts. Taller people with longer arms will be better at reaching high things, and shorter people will be better at getting in underneath a panel to hold the wrench on a nut. The more your team repeats the tasks involved in putting each arch up, the smoother and faster they will go.
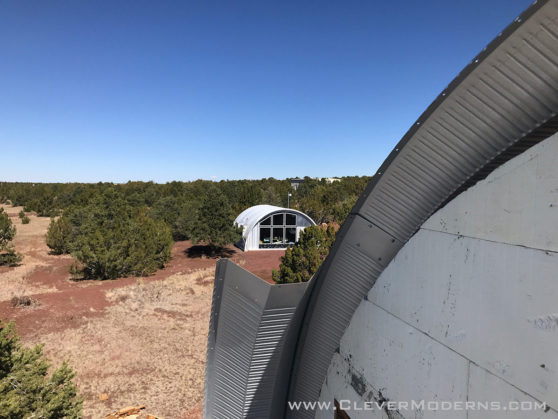
On our last morning, I shot a 360-degree panoramic image from on top of the scissor lift. I uploaded it in a separate post here – check it out!
Nearing the End Wall
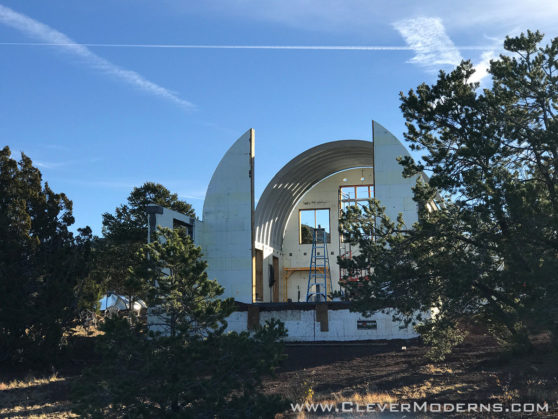
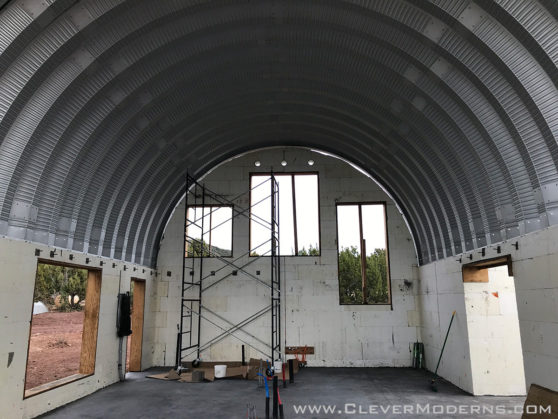
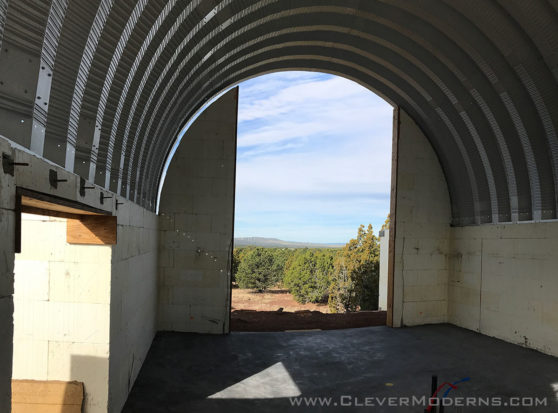
The last couple of arches before we got to the end wall were pretty tricky. It turned out that the wall itself was somewhat in the way – much moreso than the first end wall had been. Also, because the slab was not yet poured for the area that will become the covered porch, it was impossible to run the scissor lift or the scaffolding on that area. This added to the difficulty of that last arch. We had to use a combination of the scissor lift underneath on the inside, and tall ladders on the outside of the wall. It was tricky but we got them.
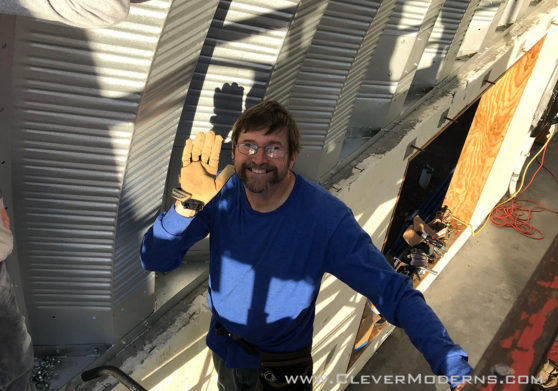
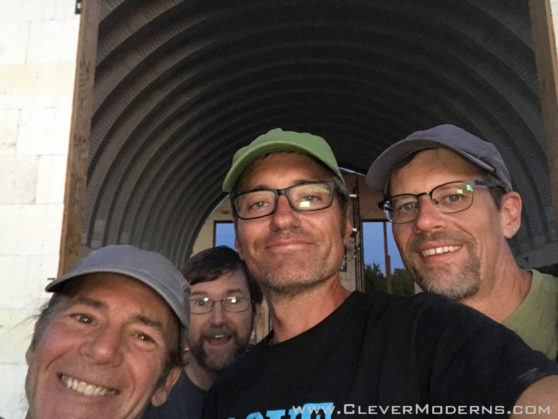
Meet the Dream Team!
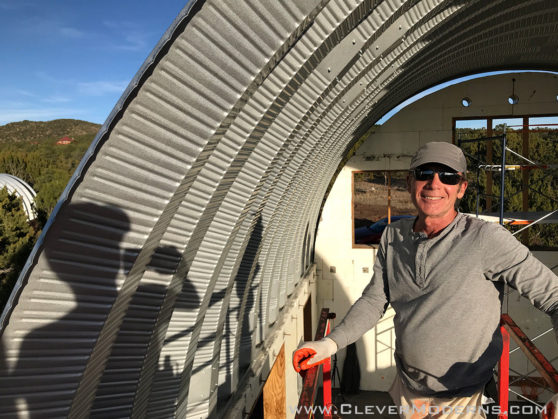
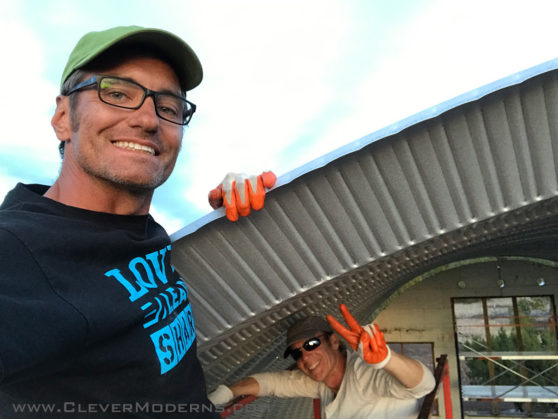
Eric:
Glenn:
Mark:
Earl:
Summary: 19 Quonset Hut Arches Completed!
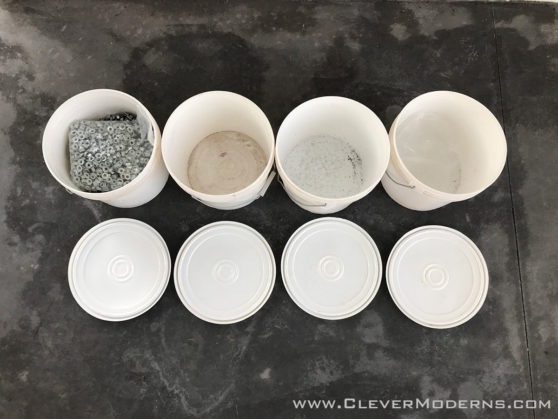
Putting together these arches we went through nearly four buckets of bolts.
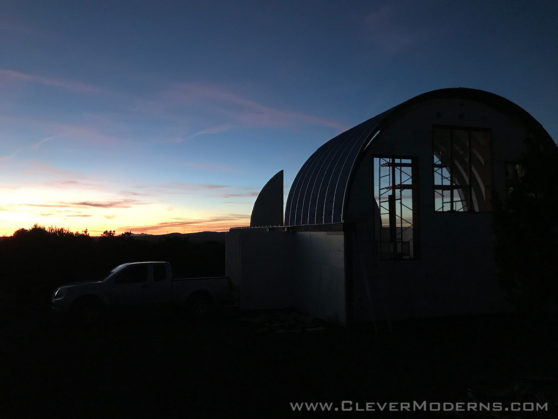
With our 19 arches completed, we still have to come back after the slab is poured for the covered porch, and build six more arches there. That may have to wait until spring. But, in the meantime, we will do what we can over the winter to get our doors and windows ordered, and start working towards getting the building enclosed.
Bonus: Timelapse Video!
We made a time lapse video of the whole process; check it out here!
Curious about Quonsets? Ready to learn more about these bizarre, amazing, shiny, round, prefab structures? Drop your info below and I’ll start you off on my email tutorial series. Looking to build an inexpensive but beautiful home debt-free? Considering going off-grid? Or are you just tired of the same old same old and want something unique and beautiful? A Quonset House might be the answer for you.
Follow us on Instagram and Facebook. We also have a private Facebook group called DIY Quonset Dwellers, where we share discussion, design, and construction tips with others who are interested in building their own Quonset hut house. With over 6,000 members and counting, the Facebook group has grown into an amazing resource all of its own! Learn more and request to join the Facebook group here.

What a beautiful and informative timeline!!! Look forward to seeing this in person in the near future!!!
My husband and I are looking at a quonset as an inexpensive alternative to a regular metal building, but I want windows! Do you think doing the ICF blocks is a better alternative to cutting wi dows in the steel? Is is less expensive then having the steel engineered to accommodate the window boxes. Is it simpler to construct with the ICF as half walls?
Hi Kari, if you are going for “inexpensive” then ICF may not be your best choice. In the long run it is very energy efficient but it is almost certainly more expensive up front. You might look at building an “S” model with straight side walls, those seem easier to me to do side windows than the Q we built with side windows. If you do that, I would make sure your straight side walls are a good 7′ high minimum before the curve starts.
But really, if you want the most inexpensive way to go, I would design your building to just utilize a simple Q shape with no side windows and nothing like ICF to complicate it. The basic Q is the cheapest version and the strongest, and it’s really just a matter of design and getting the interior layout to work with the given shape of the hut.
You can’t just take a conventional home layout and force it to fit the Quonset shell, (not that you were doing that, I’m just saying) you have to come at it from a completely different perspective that optimizes everything for the Quonset. That’s how I approach this conversation with all my clients.
Greetings from South Florida! I just stumbled onto your site after looking up end walls for Quonsets. Very fascinating, I’ve never considered using one of these for a house before. I have 5 acres down here that I am looking at building one this year for a small workshop. I’ll be checking back to see how that guest house turns out. I certainly have more land space, so I may put more of these on there.
Greetings and thanks for stopping by! Keep us posted on your project!
Mr. Parson,
My name is Kelly Todd Milton and I an Building Inspection Supervisor for Pinal County Building Safety (Arizona). The work I do for Pinal County is in regards to person(s) who build without permits. I have a case on a property where the elderly property owners purchased a used Quonset hut metal building and erected it on their property. I have been working with them for several months now in regards to plans for the structure so that they can obtain a legal permit. The structure they obtained and installed appears to be a product similar to your products. These property owners have been unable to locate an engineer that would assist them in obtaining plan for the structure. Would you be able to help me help them? I would appreciate it.
Hi Kelly, I will send you an email so we can pursue this matter further. Please watch your inbox. – Earl
Hello Earl, We have purchased an s model Quonset 40 by 60 by 18f for a gulf coast home idea. We were going to do attach to a concrete slab foundation. I am about 40 feet from the bayou in se texas. Our property has been flooded recently with Huricane rita, ike and then Harvey. Our subsoil is a clay mix and I am only maybe 12 feet from the watertable. We were concerned with adding too heavy and large of a slab that may be adversely affected by saturation of the soil. we have recently decided to pursue some type of pier foundation instead. (In hope that we would gain a few feet in elevation and have a clear space under the home for future access to the underside.) We would love to find a person who could help with this foundation plan.
What are the design codes and standards used for these buildings.
For both concrete slab and the structural building
The building’s manufacturer has engineers on staff at the factory who apply whatever local building code is in effect at the location where the building is going to be shipped and installed. Whatever they are using as the local code is what the factory has to follow.
Usually this is an edition of the IBC, but some states have their own state code, for example California and Florida each have their own codes. You can view the building codes for free at municode.com and upcodes.com.