This post contains affiliate links, meaning I get a commission (at no additional cost to you) if you decide to make a purchase through my links. I only share affiliate links for things that: a) we have actually used (or comparable items if the original item is no longer available), b) that I would use again, and c) that I think would benefit your build. See my disclosure for more info.
After all the framing prep we had done, there were just a few things left to do to get the Headquarters Hut ready to insulate.
Final Prep for Insulation
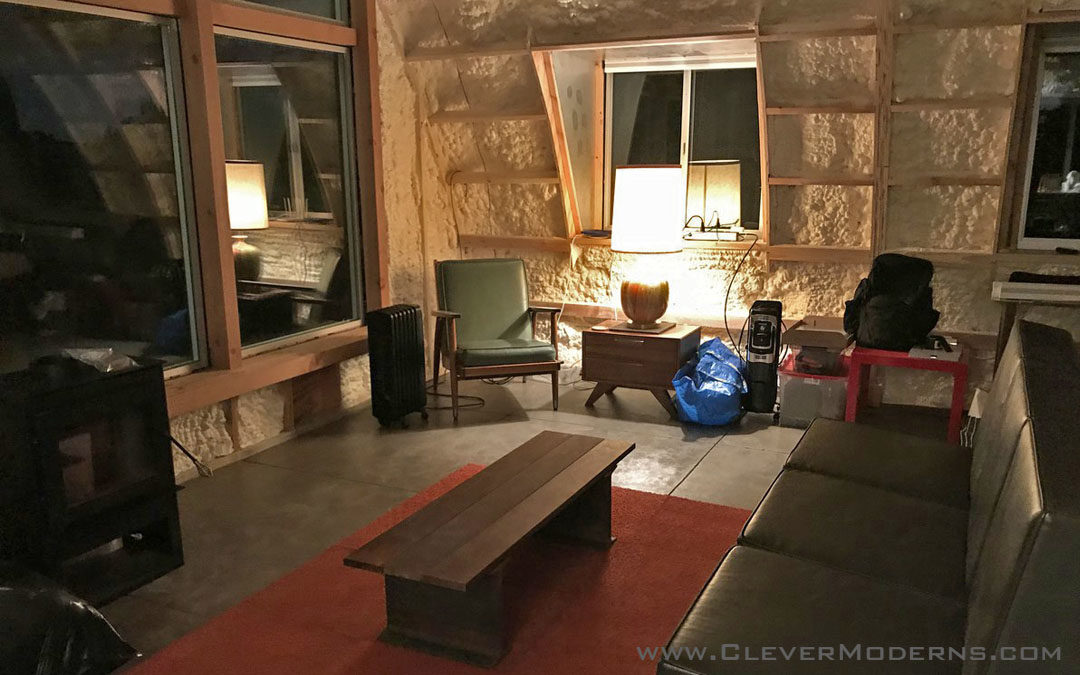
One thing we almost forgot to do was take down the lights! I got a last minute picture before we started this almost-last-task, and I’m glad I got this photo of how beautiful the metal shell was. We knew we were going to miss the beautiful metal interior, but honestly the hut was so freaking hot in summer and freezing cold in winter it wasn’t an option to leave it uninsulated any longer.
Another thing we decided to do was paint Red Gard in the base plates for an extra layer of waterproofing protection. Red Gard is commonly used as a waterproofing membrane behind bathroom tile. It ended up working really well – we had previously had water leak into the base plates, in spite of the fact that we had caulked per SteelMaster’s instructions.
We were lucky enough to have some rainy weather move through after the base plates got Red Gard-ed but before insulation day. We were thrilled with how well it worked! No more water in the base plates. So I highly recommend slapping some Red Gard on your base plates. One gallon was more than enough to do two coats on both the HQ Hut and Loft House, so even though it’s nearly $50 a gallon, the gallon went quite a long way.
Spraying the Closed Cell Foam
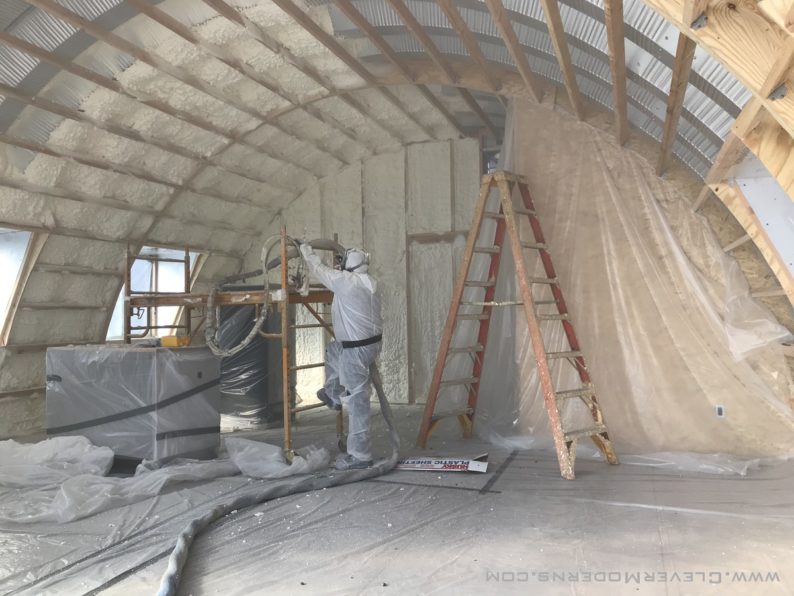
The company we ended up working with came all the way from Phoenix! They showed up at around 10:30 or 11:00 on a Monday; the whole job of spraying 3″ in the HQ Hut and 2″ in the Loft House took them almost 3 days. (I’m going to write up the Loft House in a separate post.) They arrived in a single big box truck that had all the spray equipment and everything, powered by a built-in diesel generator.
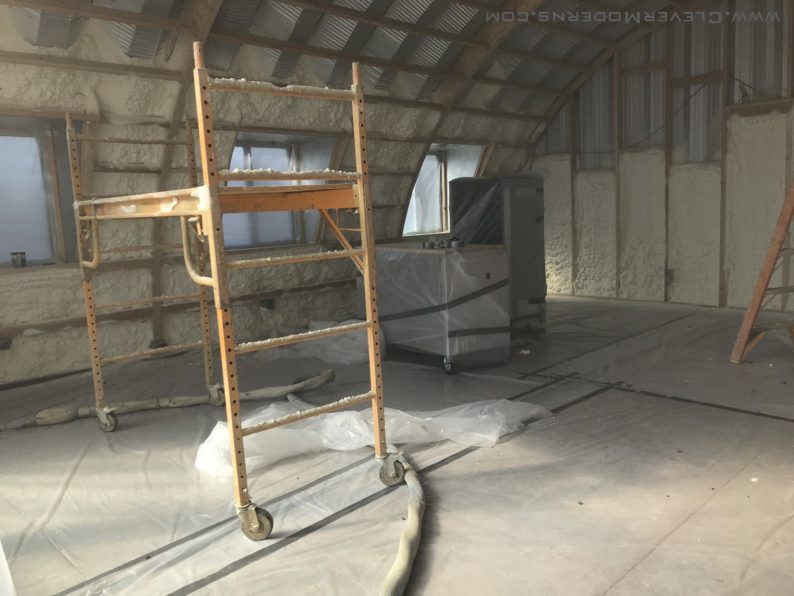
We walked through both buildings to give them a sense of the overall scope, and then they started in covering everything in plastic that needed to be protected. Then they got busy spraying!
By the end of the first day they were done except inside the bathroom. I inspected a little bit after they quit on that first day, and I found a few places where the foam was obviously too thin. I pointed those out and they went over them again on Day 2, to my satisfaction.
Overall, they did a good job and we are thrilled. There were definitely some lessons learned and I will probably write more extensively on this topic, for a couple of reasons. One is that this is easily one of the most common Quonset-hut-related subjects that I get asked about. The other is just that I want to have a good record for myself, to look back at in the future.
That’s one of the reasons I like keeping this blog updated – it’s great to be able to go back and look at what we did! We’re at the point we’ve been doing this for three years. It’s fun to go back through older posts but it’s also super useful. Take lots of pictures, people! Take more pictures than you think you’ll need. You’ll be glad you did.
Final Stats on the Quonset HQ Hut Insulation:
Type: Closed Cell
Brand: SWD Urethane
Installer: Southwest InSEALators LLC (Phoenix, AZ – Albert Huss was our contact)
Nominal thickness: 3″
Hut size: 25′ wide x 26′ long (interior only, end overhangs excluded)
Cost: ~$5,800.00
Curious about Quonsets? Ready to learn more about these bizarre, amazing, shiny, round, prefab structures? Drop your info below and I’ll start you off on my email tutorial series. Looking to build an inexpensive but beautiful home debt-free? Considering going off-grid? Or are you just tired of the same old same old and want something unique and beautiful? A Quonset House might be the answer for you.
Follow us on Instagram and Facebook. We also have a private Facebook group called DIY Quonset Dwellers, where we share discussion, design, and construction tips with others who are interested in building their own Quonset hut house. With over 6,000 members and counting, the Facebook group has grown into an amazing resource all of its own! Learn more and request to join the Facebook group here.


Hi there! I have learned so much looking through your blog. I live in Austin TX and will be receiving a my S Qhut this month from steel master. The one I ordered is about 900 sqft that I will mainly use as a fabrication shop.
I read your post about insulation and was wondering if you are still happy with the spray foam?
Have you had any water leaks? Or issues with the building expanding/contracting? Foam falling off?
It gets so hot here so I want to install a split ac system.
A mini split system for that size building will work great.
I’m starting to think the “foam falling off/apart/down” is an urban legend of sorts. Lots of people have read or heard of this happening yet I have never gotten a firsthand account of it.
We had some leaks on the side windows and I don’t recommend those. Otherwise the bolts have held up great and no leaks in the “main” part of the arches!
The main issue with foam adhesion failure on galvanized is failure to completely prep the surface. It needs to be degreased, dry and use a proper primer or etch coat to give it some tooth to adhere to the surface and avoid areas to work up voiding (also helps to prep the bolts on the interior side to give it some more grip surface). thats also assuming you do not have any other forces working to penetrate between the exterior of the hut and the face that the foam is bonded to. As long as the surface is prepped, seams are properly sealed (butyl tape or the like) and the nuts and seal washers are installed properly closed cell will hold on for dear life on a bare hut. You framing it certainly improves the mechanical strength of the bond and minimizes its opportunity to wander 🙂
I am about to do one in Austin. Would love to connect with you on how things are holding up.
Hi there – I’ve got a nissan hut that we are looking to insulate (will put insulation between the sheets of tin). Just wondering how the insulation has changed the “freezing in winter and boiling in summer” issue?
The insulation has worked great!
I was strongly discouraged against spray foam by the manufacturer of my quonst hut. The reasoning being sweating and breathability from the temperature changes. This is located I’m Las Vegas, NV where summer temperatures reach 115°.
What are your thoughts regarding this discouragement?
I can’t understand any way this makes sense. Your building will be an oven and you are pretty much guaranteed condensation if you don’t insulate it, even in desert climates. If it was a mfr trying to get you to buy batt insulation from them then I totally understand it – in that case, they are trying to take advantage of consumer ignorance to make a buck on their own insulation which does not meet code and leads to condensation. They will say it meets the required R-values which is still dubious, but they will ignore the fact that batt insulation requires venting and there is no way to vent it in a Quonset hut.
Is it possible or even feasible to panel the inside of the hut all along the inner arch?
Absolutely and that is what our plan is – the whole point of the framing inside is to attach a nice ceiling.
In the planning stages looking to start the summer of 25.